Using a Personalization Rule, you can set up a temporary row of content to display on your website. The content will appear and expire based on your trigger, for example, during a certain time frame. This is great for items of high importance like seasonal events and urgent information like a school closing. This option takes a little more work to set up, than say a popup or a notification bar, however, it offers greater control and higher visibility. It is also re-usable. Unlike a notification bar, which appears at the bottom of the site a "New Row" may appear as the first row on your home page if you want it to. Also, as this is not a popup it is less intrusive on visitors and is not blocked by popup blockers, perfect for more urgent items.
This rule does NOT obey the 30-minute cooldown unlike the Popups and Notification Bar. Making it semi-permanent during the trigger time. This can make it a very effective way to display very important yet temporary content like school closings.

To Setup a New Row (Temporary)
- In the editor access the Personalize panel (under ... More)

- Create a new rule (or edit an existing rule) using the Build Your Own option.

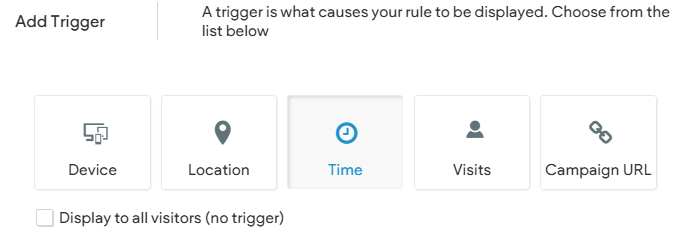
- Select your Trigger, typically we recommend using Time then setting your Dates/Time.
- For Action select New Row

- You will then choose the page that this new row will appear on (typically the Home page).
- You will also be prompted to select a default row like "Contact Us." Choose any default as it simply dictates what widgets will already be present in the row, and you will be editing it.

- When you click next, you will be placed in Rule Mode, and your new row will be placed at the top of the selected page (by default). While in Rule Mode other sections of the website are greyed out. You are focused on and allowed to edit only the new row. You can add, remove, and edit the widgets and content of the row to your liking. This includes changing the color of the row and more.
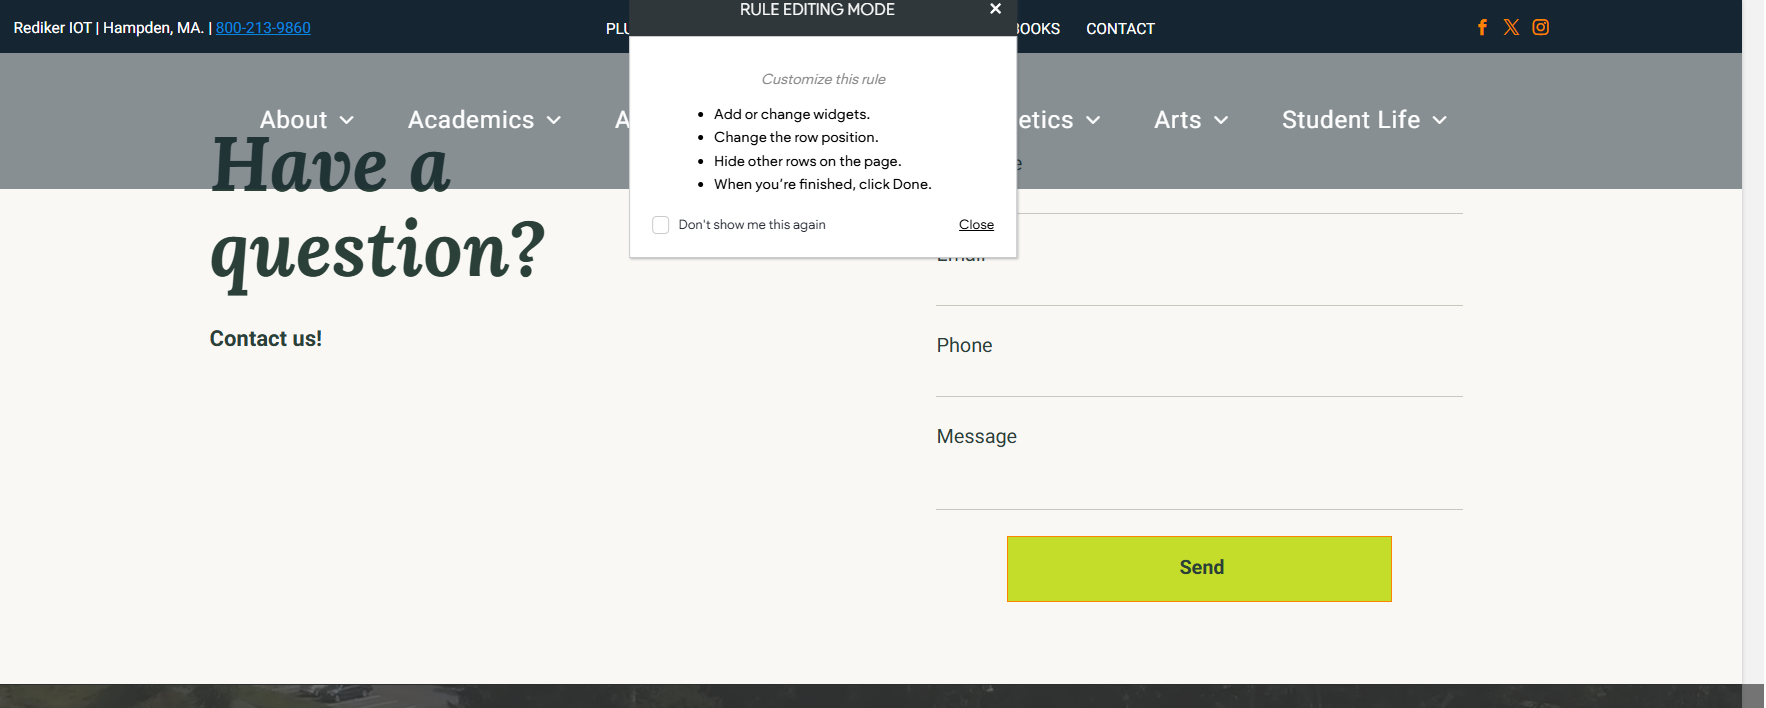

- You can click on the Row Tag and choose to move the Row down the page if you desire. For example, if you want the new row to appear below your hero image (splash)

- When you are done editing and adding content to your new row click Done in the upper right corner

- It is very important that you name the rule, typically something obvious and specific like "School Closing Row." If the row needs to display now, then be sure to check the box for Publish Now and then click Save Rule.
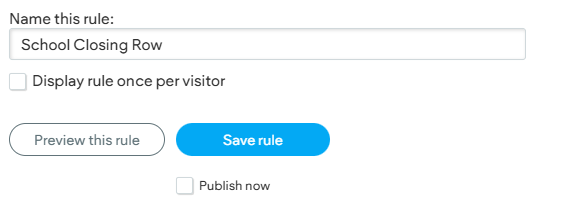
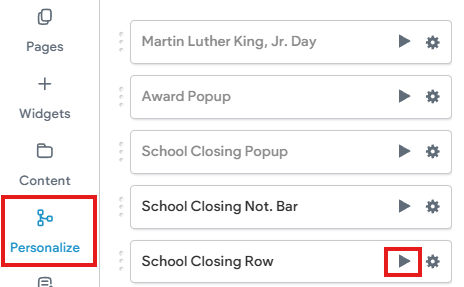
- It is always advised that you preview your rule. If you open the Personalize panel, you can click the Preview (Play) button next to your rule to preview it. Click Back in the upper right corner to exit the preview.

- Be sure to republish the website when done.
Now that you have created a rule for this row, you do not need to recreate it in the future. To use it again you need only to access the Personalization area and edit the existing rule. Editing the Trigger will let you update the date/time and editing the Action will let you update the content of your row.

As with most Personalization rules if you have trouble seeing the rule display on your live site try the following:
- The New Row rule does NOT obey the 30-minute session rule and should always be visible on the page assuming the trigger is met.
- Edit the rule trigger and double check the active date/time
- Preview the rule in the editor
- Republish the Website
- Try another browser or device
- Clear browser cache