A Personalization Rule allows you to create, manage, and optimize visitor interactions across your site. For example, setting a rule to run a popup during a particular time of year on specified pages. You can even target all pages or specific multiple pages within a single rule, making setup significantly faster and easier to maintain. This is especially useful for promotions or events that you wish to appear across several site pages, or for site-wide announcements, and more. You can use preset rules (templates) or build a new rule. Personalization rules will include a Trigger like time or number of visits, and then an Action like a popup or notification bar. Additionally, it includes settings like immediate display, delayed display, or even display on scroll and more.
Following are important notes about personalization rules:
- Rules will only trigger for the same user once every 30 minutes, or until they clear their browser cache, even if that user still meets the trigger requirements. (This is for SEO and other best practices).
- If a user comes back more than 30 minutes after the first visit, we update the number of visits cookie.
- Rediker uses cookies for first-time users when using personalization rules. One cookie is used for timestamp, another cookie for number of visits.
- We only show pop-ups once for the current browser session.
- So, even if you have it set for all pages, they would only see it once (so, as to not be an annoyance).
TABLE OF CONTENTS
- Create a Personalization Rule
- Settings
- Edit, Activate/Deactivate, or Delete Existing Rules
- Troubleshooting Personalization Rules
Create a Personalization Rule
To create a personalization rule:
- In the side panel under ... More click Personalization.

- Choose Add Rule (for a new rule)

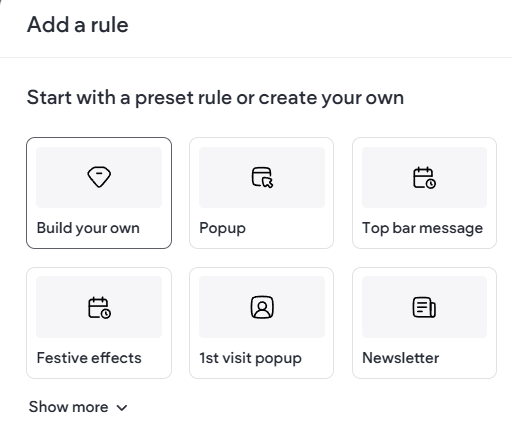
- When adding a new rule, you will get a prompt to pick from either preset rules or to build your own. We recommend you choose Build your own to start and click Next.
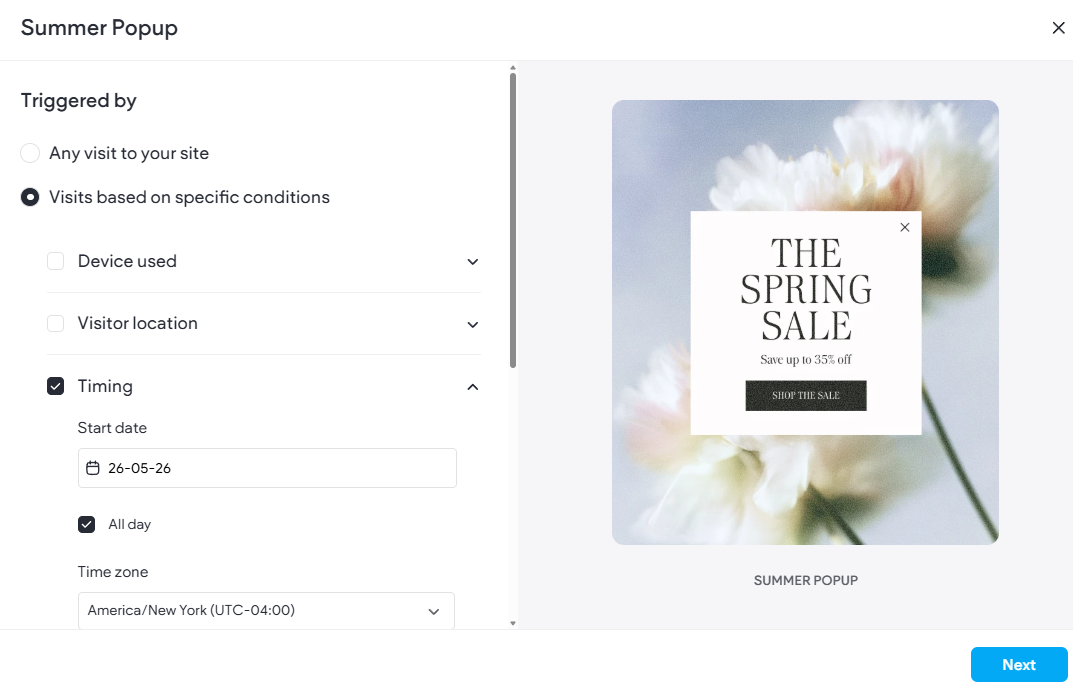
- When building a rule, you will first set the Trigger By to either Any Visit or Visits based on conditions.
This is what will cause the action to happen, for example, most people want to set a time condition so, choosing Visits based on specific conditions then followed by Timing are the recommended choices.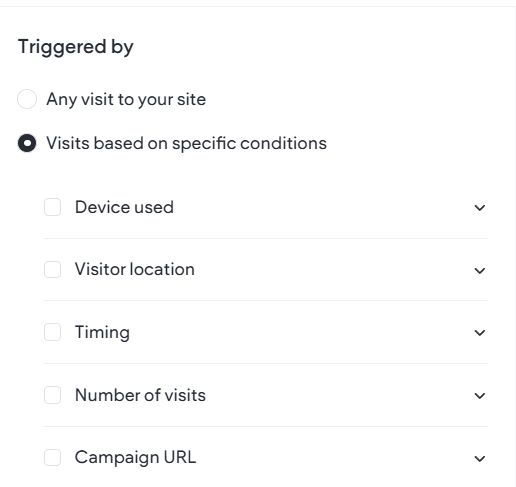
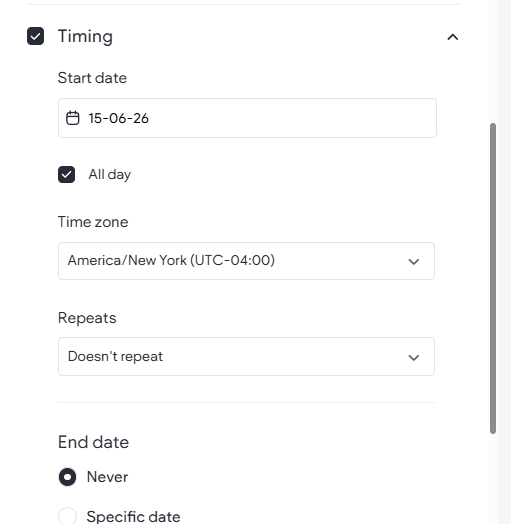
- Select and set your trigger (Triggered By). For example, with Timing you will set a Start and End Date with Time.
- Choose the Action that will happen when the trigger is met. You now set what will happen, for example Show popup, or message bar, etc. as well as which pages to show it on. The settings will vary based on the action chosen.
- At the end of the process and steps be sure to:
- Name your rule
- Preview the popup rule
- Choose either Save as Draft or Finish & Activate.

- Finally, Republish the website using the Republish Button. IF the rule is active, open a new browser tab and visit the live site to see your pop-up live.
Settings
Depending on the settings selected by the user when creating a rule, like which trigger and or action is chosen, the options will vary. Below are some key terms and descriptions about personalization rules. Rules are generally comprised of two main elements: The Trigger and the Action. The Trigger are what settings are used to cause the action to display, and the Action is just what has been chosen to display. There are also display settings as part of the action (depending on which action is chosen)
Triggered By
This represents the settings you wish to happen in order for an action to take place. This divided into two main categories: Any visit or Visit based on specified conditions. This offers you an opportunity to truly personalize actions.
- Any Visit just means anyone visiting the site/page will see the selected action (aka no triggers, just show it).
- Specificized conditions allows you to set custom conditions like those listed below. These can be used in conjunction with one another (technically all of them can be used at the same time (not recommended)).
- Device Used - Action will only show on specific device typer (Desktop, Mobile and or Tablet).
- Visitor Location - Enter an address, and the action will only show to visitors within a 50 km radius.
- Timing - Specify a date, time and or range for the action. (recommended)
- Number of Visits- Set a number of visits before the action triggers
- Campaign URL - Only have the rule trigger IF the vistors arriving with specific marketing campaign parameters
Action
The action is what will actually be displayed when the trigger occurs. You can only choose a single action per rule. Most actions can be used in conjunction with others, but not the same action on the same page at the same time.
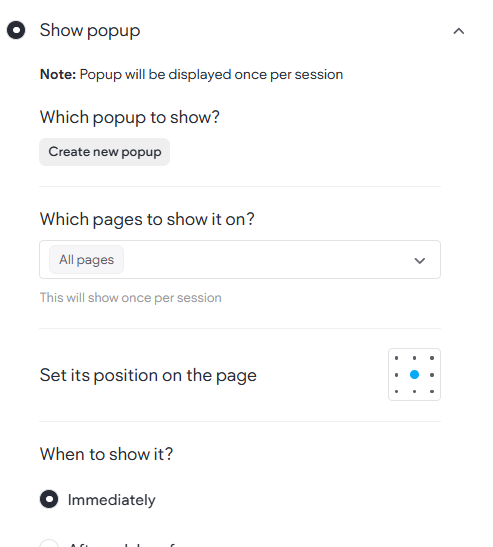
- Show popup - Select a popup to display content .
- New Row- Show a whole row of content on a page.
- Show message bar - Show a simple colored message bar with text.
- Run JavaScript - Advanced; triggers custom JavaScript (pasted into box).
- Show Special effects - choose a season effect like fireworks, snowflakes, or falling leaves
Keep in mind that most actions re once per session/30 mins.
Display Settings
Some of the available settings are based on action type chosen:
- Which Popup/Effect (Popups and Effects): Allows you to choose from existing popups or available effects
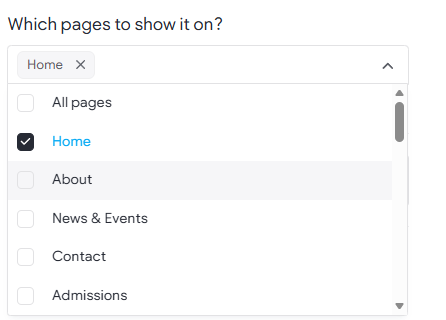
- Which pages to show it on? (All Actions): Set which pages the actions will be displayed on, all pages, single page, or multiple chosen pages (keeping mind the 30 minute/session rule)
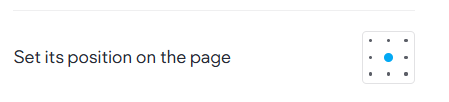
- Position on Page (Popups only): Popups can now have a position on page set. Allowing you to choose to have the popup open in a specificized page position.
- When to show it (options vary based on Popups, Effects, and Message Bar):
- Note that the New Row action uses none of these as it is just content on the page (although standard animation options can be applied to the row)
- Immediately: Sets the popup, effect, or message bar to be immediately visible
- After Delay of (Popups and Message Bar): Set a delay in seconds for popup
- Hide/Stop After (Message bar and Effect only): Set numberer of seconds for the message bar to automatically close or for how long the special effect should last
- When Visitor is about to leave (Popups only): On desktop, it activates when it is detected that the visitor's mouse cursor is moving quickly toward the top of the browser window (usually heading for the close button, back button, or address bar). That upward movement is the signal that the visitor might be about to leave/exit, and that’s when the action you’ve set up, like a popup, will show up.
- After visitor scrolls (%) (Popups Only): This delays the popup from happening until the visitor has scrolled the amount (%) set in the rule. From example, if the rule is to trigger a popup, but only on the Admissions page when the visitor has scrolled down 50% of the page.
Edit, Activate/Deactivate, or Delete Existing Rules
You can edit a rule any time to make changes to the settings or even deactivate it.
To Edit, Activate/Deactivate, Delete a personalization rule:
- In the side panel, click ... More, then click Personalization.
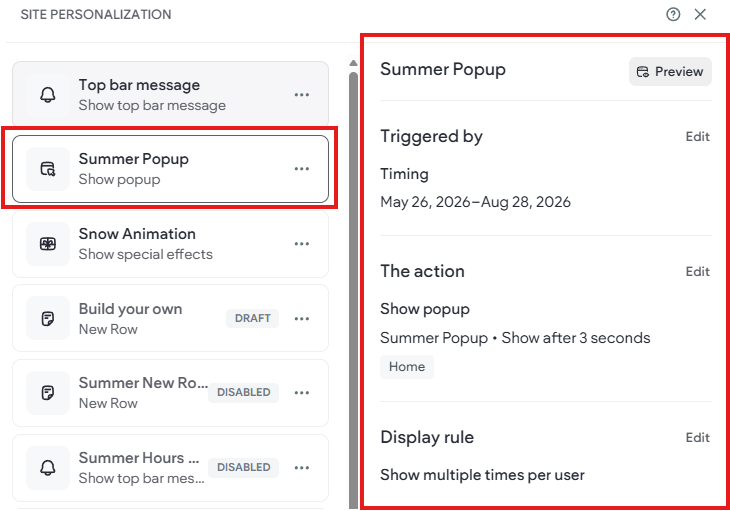
- When you click on an existing rule, a summary panel will appear displaying the action, the trigger and display rule.
- From the rule summary, you can preview or edit the desired items.
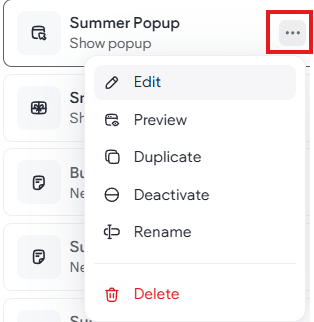
- You may also choose to hover or click on the settings ... next to the desired rule which opens a menu of options as well. This menu allows you to rename, duplicate, deactivate, and even delete a rule.
- When you choose to Edit the popup screen will open with the editable options.
- After editing a rule be sure to also republish the website.
Troubleshooting Personalization Rules
If you are having trouble viewing your personalization on your live website. Try the following:
- Please remember that rules will only trigger for the same user once every 30 minutes, or until they clear their browser cache, even if that user still meets the trigger requirements. (This is for SEO and other best practices).
- If a user comes back more than 30 minutes after the first visit, we update the number of visits cookie.
- Rediker uses cookies for first-time users when using personalization rules. One cookie is used for timestamp, another cookie for number of visits.
- We only show pop-ups once for the current browser session, try close and reopening the browser.
- Double check your rule Trigger and ensure the settings are such that the rule is active and live
- For example, if using Timing, it needs to have a current start and end date/time
- Double check the Action is set to the correct action like popup and correct page like your home page.
- Is the rule running on the correct page(s)?
- Ensure you do not have multiple rules (like 2 Popups) active.
- Only one of each action can be active at the same time on a page.
- If two rules with the same action type are both triggered at the same time, on the same page, whichever is listed highest on the list of rules will take effect.
- If using the message bar, be sure it is not in conflict with the Cookies/Privacy message bar if active (as only one can be active).
- In Personalization panel ensure the rule is active (not Disabled)
- It would be a good idea to also click the republish button on your website.
- Try clearing your browser cookies and cache
- Try using another browser, device, or an incognito window.
- Try waiting until the time has expired (30mins)
- If necessary, try deleting the rule, then adding a new build your own rule and republishing.
Email support@rediker.com if you are unable to get your rule to work correctly.